
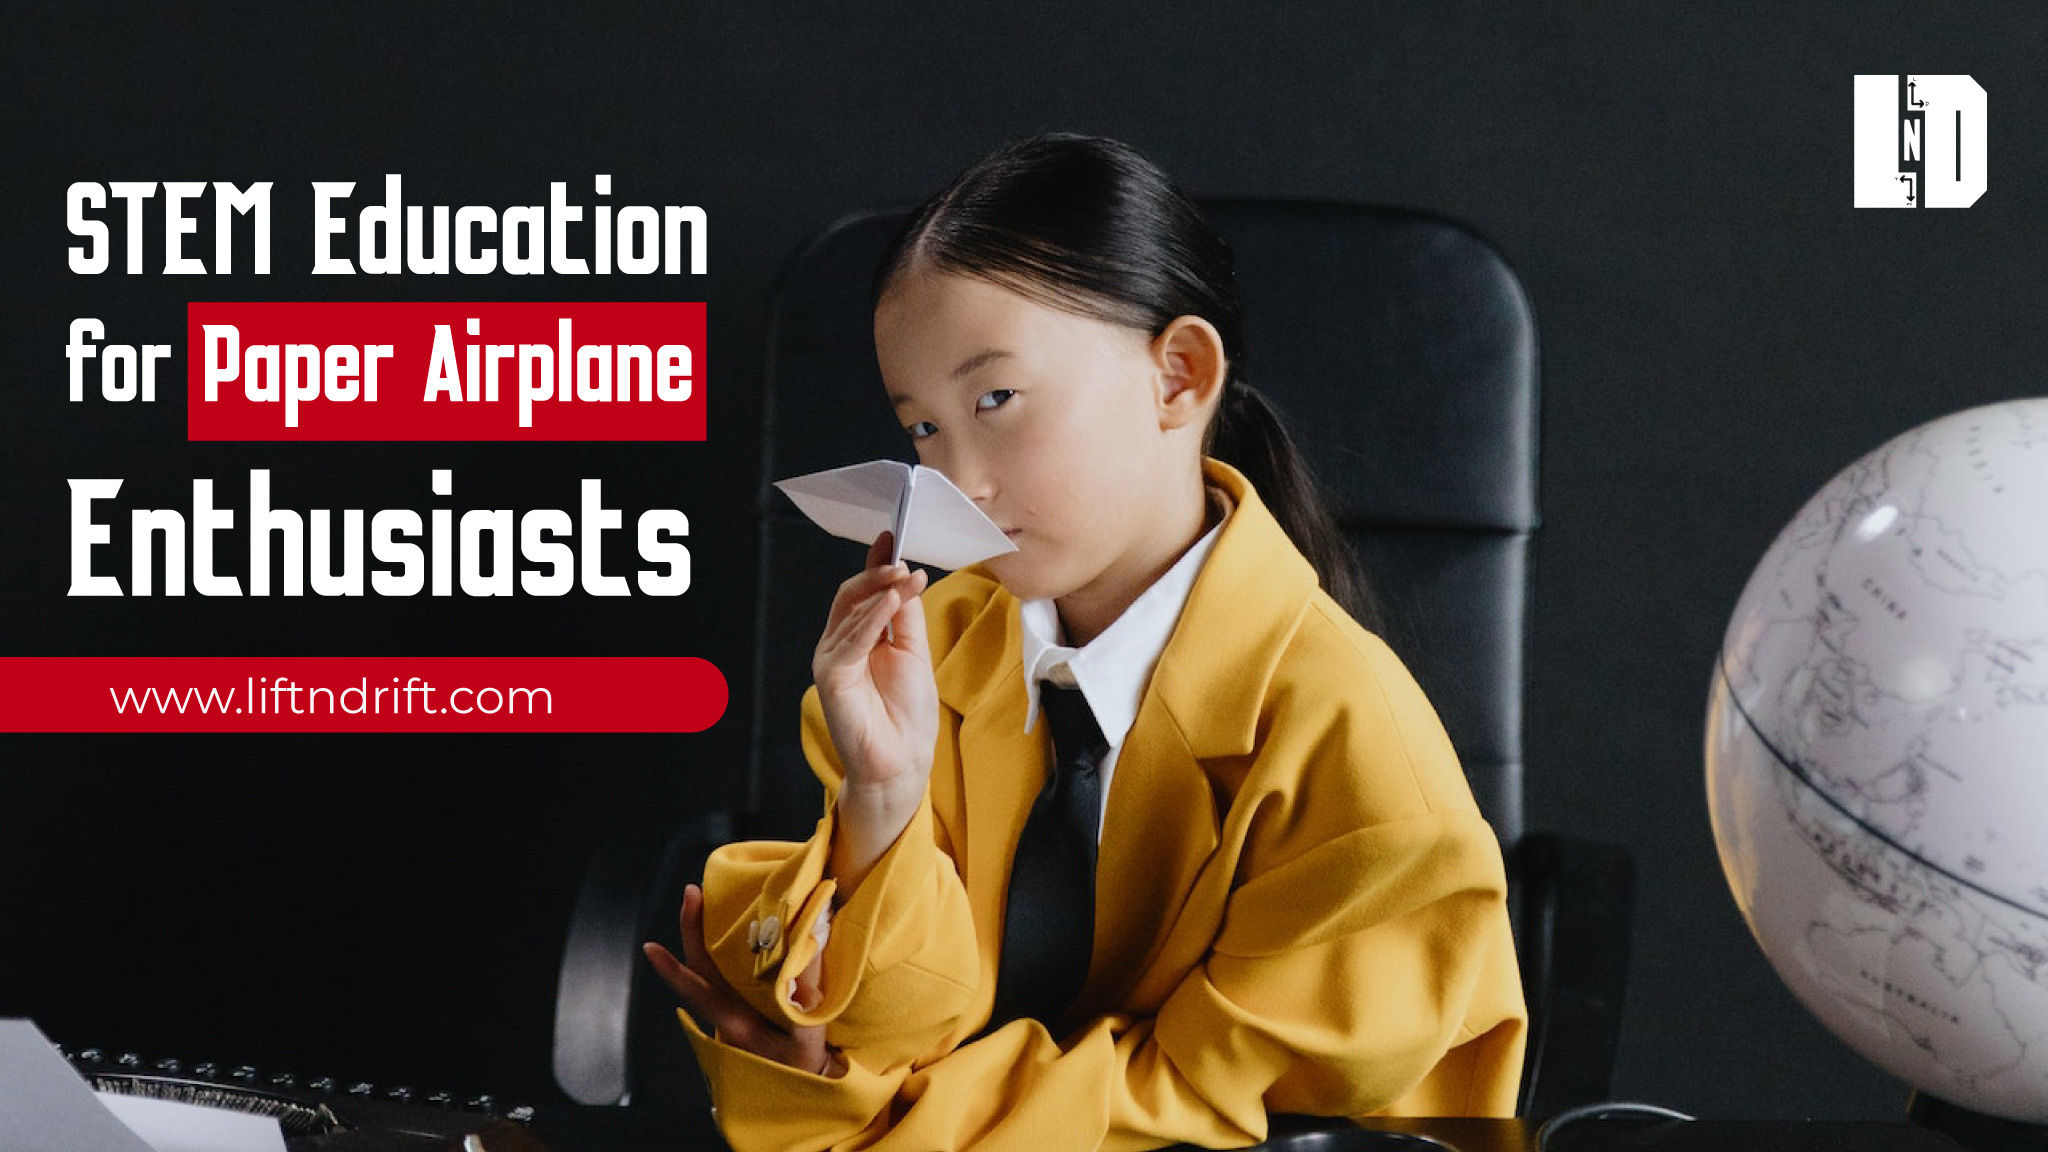
Paper planes are the ideal STEM education project for showing science in the homeroom! It’s a simple and fun thought for enormous gatherings of children and shows basic science ideas like aerodynamic features, Velocity, Thrust, Velocity, and other aerodynamic forces.
Teach your kids about the different components of flight and make it a fun and memorable experience! As a summer camp counselor, I used this project almost every week. The kids were engaged and engaged for a long time, designing their own planes, coloring them, trying different styles, and doing flight tests!
Below are three simple paper airplane designs that you can include in an Aerodynamic STEM Education lesson.
What is the purpose of paper airplane for STEM Education project?
This activity will teach your kids about aerodynamics, the forces of flight, and fun with paper airplanes! By creating three different paper airplane models and testing each one, kids will begin to understand why airplanes fly and how they can design their own paper airplanes!
You will need to collect some materials to make and test paper airplanes.
You will need,
- Paper
- I find that while the kids love using colored construction paper, it is too heavy to fly and a bit more difficult to fold so I would recommend regular printer paper or light-colored paper.
- Paper clips (optional)
- Tape (also optional)
- Colored pencils or markers
- It’s always fun to have kids decorate their planes! You can even have them name their planes and write them on the side. Each plane will look completely different!
- For testing:
- Tape measure
- Stopwatch
- Large outdoor space (preferred)
Once you have all of the materials listed, you will need an aircraft comparison chart like the one below. They are simple to manufacture and reproduce. To note down the aircraft range a 3*9 table is mandatory. Each row will be intended for an individual test of one of the aircraft. Each column will measure the time, distance, and average measurement of each plane.
| Time Aloft (Seconds) | Distance (Feet) | Average | |
| Classic Paper airplane | |||
| Trial 1 | |||
| Trial 2 | |||
| Trial 3 | |||
| Glider Paper plane | |||
| Trial 1 | |||
| Trial 2 | |||
| Trial 3 | |||
| Glider Flight | |||
| Trial 1 | |||
| Trial 2 | |||
| Trial 3 |
Follow the instructions to create three different paper airplane designs.
Tips & types of paper airplane folding:
Flatten the fold before you start creasing. Make good folds and tight folds to improve the aerodynamics of the aircraft. Keep the folding as symmetrical as possible for better flight results. If you are throwing the plane more than once, add tape to prevent it from falling apart after each throw. Clips also work but will add weight to the plane.
- Keep the paper in portrait orientation over the table.
- Fold the top right corner into the center fold, aligning the edges to form a triangle.
- Do the same with the left corner.
- Fold the right side again along the fold.
- Do the same with the left side.
- Fold the plane inwards, in half, so that the previous folds are on the inside.
- Fold one side so that the edges line up.
- Turn and repeat with the other wing.
How to launch your paper plane:
For this plane, hold it slightly above your head when throwing to get a better takeoff. Use a nice level roll; don’t aim too high or too low.
- Keep the sheet of paper on the table in portrait orientation.
- Fold the top right corner into the center fold, aligning the edges to form a triangle.
- Do the same with the left corner.
- Fold the point of the plane down and create a fold along the bottom of the corner triangles. The nib should be about 1/3 of the page from the bottom edge of the paper.
- Fold the top right corner to the center, about one inch above the tip.
- Repeat with the left corner – by doing this you will create a triangle.
- Fold the small triangle up.
- Turn the plane so that your folds are on the table.
- Fold your plane in half, the left side over the right side, so the edges are aligned.
- Fold the top wing down so that the edges are aligned.
- Turn and repeat with the other wing.
- Place the paper in front of you in landscape style.
- Bring the right corner of the paper to the center, almost 1.5 inches from the top.
- Repeat with the upper left corner point to create a wide inverted triangle at the top of the paper.
- Fold the top of the paper down to the tip of the inverted triangle.
- Fold the top over itself again, and squeeze well. Repeat this fold two more times.
- Fold in half, inside. Develop.
- Fold in half, outwards.
- Make a crease about an inch from the left edge and fold the right side/top wing to the left at that crease. Turn and repeat.
- Fold 1 inch at the edge of the wings up.
Tip: For this plane, throw it steeply up instead of straight to see how it glides. This plane needs a hard throw.
Airplane Throwing Tips:
Most airplanes require a loose and light grip and a quick throw. Tilt your airplane slightly up before you throw it and release it early. Using the lift, will help your plane catch the wind and propel itself upward.
- Fly the planes and test your time in the air and distance. Record the information on the aircraft comparison chart. (to match the chart)
- After testing, have kids try to design their own paper airplane using parts from airplanes they have already made. Let them name their new plane.
- Try out kid planes. Record the results of the test in the prompt chart.
STEM Education Challenge: Class 3 Aircraft
Now that your kids are locked into making & knowing the science behind paper airplanes it! Using a pre-made paper airplane or diagram, discuss the forces of flight with your kids. Highlight essential vocabulary such as lift, weight, pull and drag.
- Lift is the force created by an airplane’s wings that pushes air down, making the airplane rise.
- Weight, along with gravity, pulls down on the plane, opposite the elevator.
- Thrust is the force that propels an aircraft forward, created by the aircraft’s engines.
- Drag is air resistance that acts against thrust.
Have a great time flying your own paper planes! This simple and tomfoolery STEM example can be adjusted for all ages, and paper planes never go downhill. Challenge your understudies to plan their own planes, change them for ideal execution, and get inventive with their plans and enrichments. To learn how to make a paper airplane stay tunned in Liftndrift
You can also search for
How to make a paper airplane that flies far